While it certainly can be fun to visit a pub and raise a pint in honor of St. Patrick’s Day on March 17, such efforts are not necessarily a family-friendly way to commemorate the patron saint of the Emerald Isle. Thankfully, there are plenty of activities for children and adults that focus less on imbibing and more on hands-on fun so everyone can be involved equally. Crafting often fits that bill.
The following are some unique craft ideas to celebrate the spirit of St. Patrick’s Day. Many of these projects include items you may already have around the house.
Shamrock Key Chain
Find your favorite salt dough recipe and use a shamrock cookie cutter to cut out the shape of a lucky clover. Poke a hole at the top where you can connect a key ring. When the shamrock is dried and hardened, paint it in a vivid shade of green. Attach keys, a school ID or anything else to the key ring, or simply hang it from a backpack.
Leprechaun Hats
With a little green paint, green card stock and construction paper in black and gold, anyone can create miniature leprechaun hats. Paint the toilet paper tube green, then wrap the bottom in a strip of black and place a gold “buckle” made out of a rectangle of gold or yellow paper. Glue the tube to a round of green card stock, and voila, you have a perfect leprechaun hat for decorating a room or table.
Easy Rainbow Craft
Grab some fruity O-shaped cereal and let kids sort the colors into red, orange, yellow, green, and purple. Glue rows of these colored cereal rings onto a piece of white cardstock to make the rainbow. At the base of the rainbow, glue some cotton balls to serve as the clouds.
Beaded Bracelets
Visit a craft store and stock up on small green, white and gold beads, as well as some bracelet wire or poly string. Spend a few hours making bracelets that everyone can wear with their green attire for St. Patrick’s Day. The bracelets also can be given as gifts.
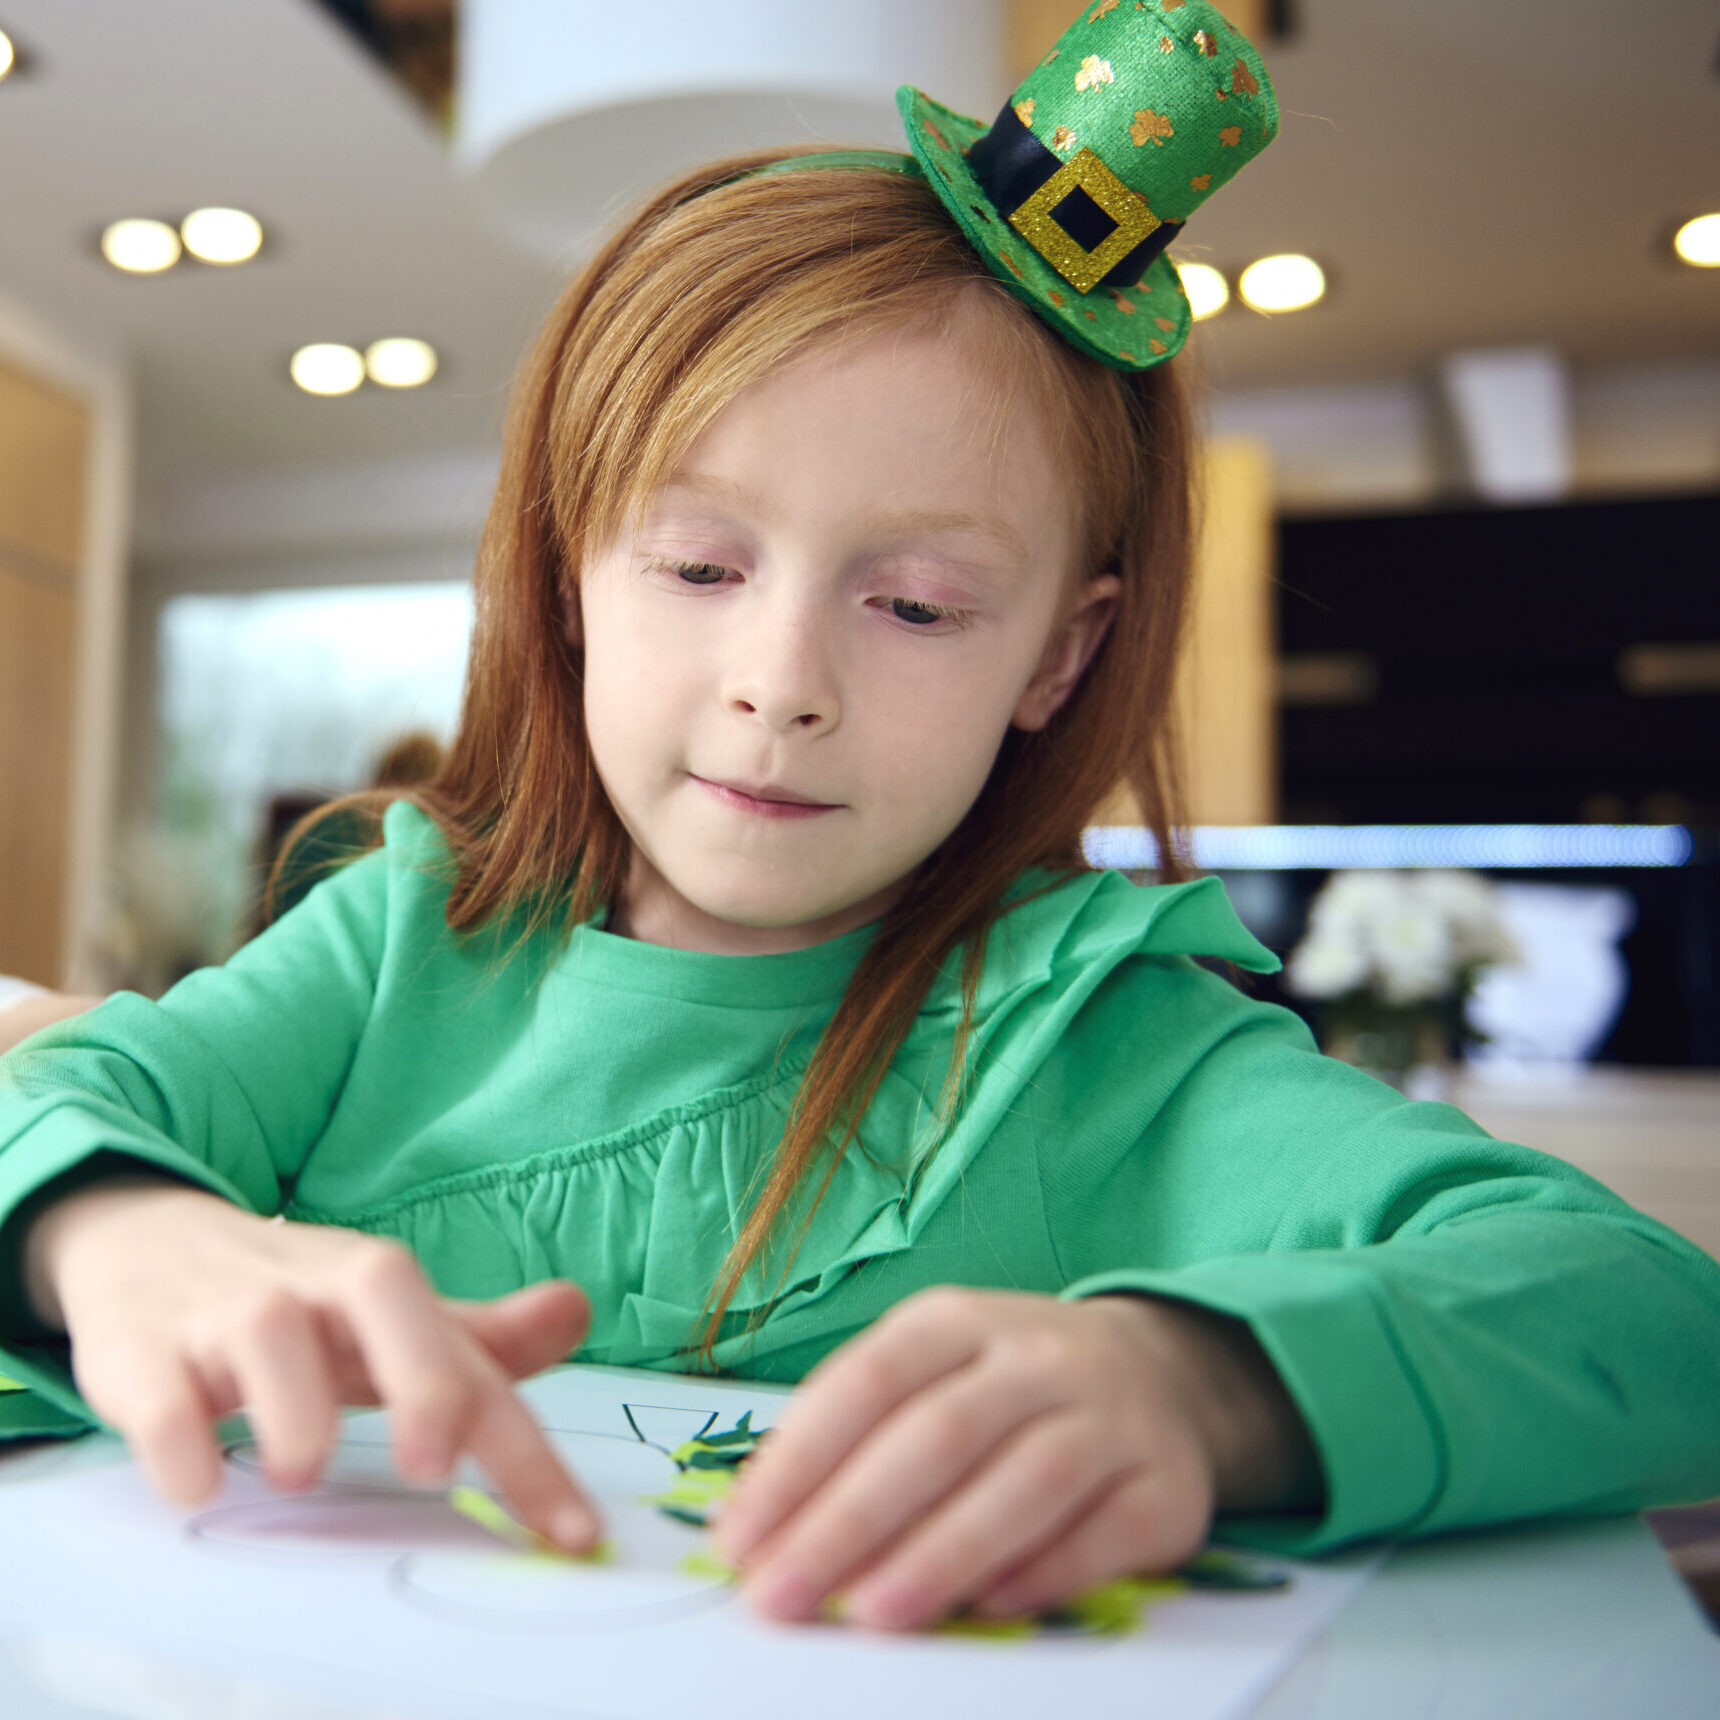
Shamrock Slime
Those who can find green glitter glue and shamrock confetti can turn their favorite slime recipe into one worthy of St. Patrick’s Day.
Rainbow Cereal Bars
Incorporate some of the marshmallows from a favorite “lucky” cereal brand into the mix of rice cereal treats to give them a rainbow-inspired upgrade.
Pots of Gold
If you have leftover plastic witches’ cauldrons from Halloween, paint them gold and use them to store foil-wrapped chocolate coins. Otherwise, tie green helium-filled balloons to the cauldron to make a perfect centerpiece.
St. Patrick’s Day crafts get the entire family in on the fun of celebrating the Emerald Isle.